In today’s automotive culture, standing out has become essential for car enthusiasts and everyday drivers alike. One of the most effective ways to achieve a distinctive look is through car wrapping. Unlike traditional paint jobs, a car wrap offers a temporary yet striking solution that can transform the appearance of a vehicle without the permanence of paint.
Car wraps are highly customizable, with a wide range of colors, textures, and finishes available. This allows owners to express their individuality or promote their business in a visually compelling manner. Embracing a wrap can not only enhance the aesthetic appeal of a vehicle but also provide an added layer of protection to the original paint, preserving its value for years to come.
The installation process of a car wrap requires careful planning and execution. Understanding the necessary steps can make the difference between a stellar finish and a disappointing result. In this article, we will explore the key aspects of installing a car wrap, including preparation, application techniques, and maintenance tips to ensure your unique custom appearance lasts.
Choosing the Right Vinyl Material for Your Car Wrap
Selecting the appropriate vinyl material for your car wrap is crucial for achieving the desired aesthetics and durability. Various types of vinyl materials are available, each with distinct characteristics. Understanding these options will help you make an informed decision.
One of the primary types of vinyl used for car wraps is cast vinyl. This material is known for its flexibility and superior conformability, making it ideal for complex curves and contours. Cast vinyl also boasts a longer lifespan, often exceeding seven years, and is resistant to fading and cracking, which is essential for maintaining appearance over time.
Another option is calendared vinyl, which is thicker and more economical than cast vinyl. While suitable for flat surfaces and simple curves, calendared vinyl generally has a shorter lifespan of three to five years. It is often used for temporary wraps or promotional vehicles, where long-term durability is less of a concern.
Consider the finish of the vinyl as well. Vinyl wraps come in various finishes, such as gloss, matte, satin, and even textured options like carbon fiber. Gloss finishes tend to enhance color vibrancy, while matte finishes offer a more understated and sophisticated look. Ensure the finish aligns with your vision for the vehicle’s appearance.
Durability is another key factor. Look for vinyl that is rated for exterior applications and offers protection against UV rays, moisture, and environmental pollutants. Higher-quality materials will maintain their appearance longer and resist the wear and tear of road conditions.
Adhesive quality is crucial as well. High-performance adhesives ensure that the wrap adheres firmly while allowing for repositioning during installation. This can be particularly beneficial for DIY projects or when dealing with tricky areas of the vehicle.
In summary, choosing the right vinyl material for your car wrap requires careful consideration of factors such as type, finish, durability, and adhesive quality. Evaluating these aspects helps ensure that your vehicle reflects your unique style while maintaining its appearance over time.
Step-by-Step Guide to Preparing Your Vehicle for Installation

Preparing your vehicle for a car wrap installation is crucial for achieving a flawless finish. Follow these steps to ensure your vehicle is ready for the process.
1. Clean the Surface
Thoroughly wash your vehicle to remove dirt, grime, and contaminants. Use a car-specific soap and consider a two-bucket wash method to avoid scratches. Make sure to clean areas around the edges, seams, and underneath any removable parts.
2. Dry Completely
Once washed, dry your vehicle completely using microfiber towels. Ensure that no water spots or moisture remain, particularly in crevices, as these can interfere with the adhesive of the wrap.
3. Inspect the Surface
Examine the vehicle’s surface for any imperfections, such as scratches, dents, or rust. Repair any issues before moving forward, as imperfections can affect the final appearance of the wrap.
4. Remove Accessories
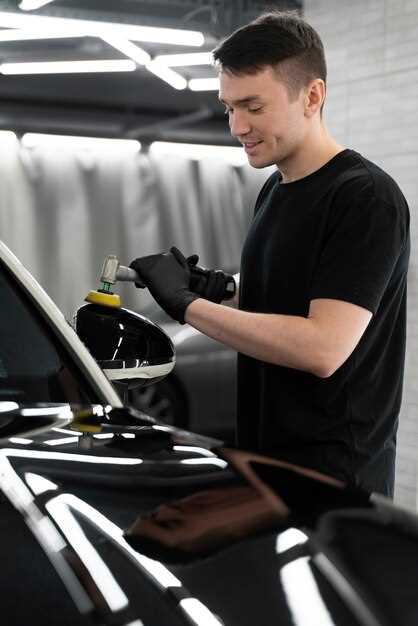
Take off any accessories that might obstruct the wrap installation, including antennae, side mirrors, and trim pieces. This will allow for a smoother application and better coverage.
5. Degrease the Surface
Use a degreaser or isopropyl alcohol to wipe down the vehicle’s surfaces. This step removes any oils, waxes, or residues left from cleaning products, enabling the wrap to adhere properly.
6. Prepare in a Controlled Environment
Seek a clean, temperature-controlled space for the installation. Ideally, the temperature should be between 60°F and 80°F (15°C to 27°C) to ensure optimal adhesion and flexibility of the wrap material.
7. Gather Necessary Tools
Have all necessary tools at hand before starting the installation. This may include squeegees, utility knives, heat guns, and application fluid. Having everything organized will streamline the process.
8. Plan the Installation
Review the layout of the wrap design. Plan the installation starting from the larger areas and working your way to the smaller sections. Create a strategy to minimize the number of seams for a clean appearance.
Following these steps diligently will set the foundation for a successful car wrap installation, resulting in a unique and professional look for your vehicle.
Techniques for Properly Applying and Maintaining Your Car Wrap

Applying a car wrap requires precision and attention to detail to achieve a flawless finish. Start by thoroughly cleaning the vehicle to remove dirt, grease, and wax. Use a pH-neutral soap and rinse thoroughly to ensure no residue remains. Dry the surface completely before starting the application, as moisture can lead to adhesion issues.
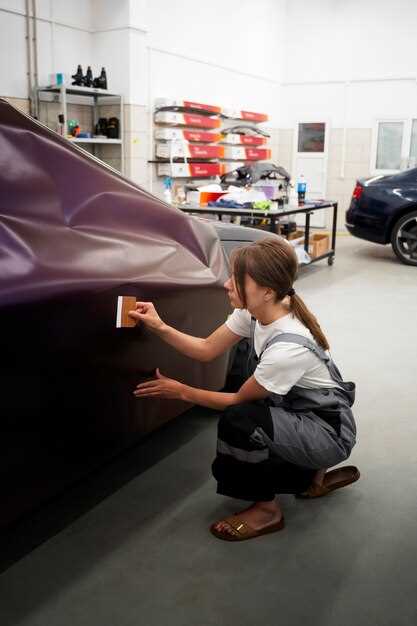
Utilize a heat gun to warm the vinyl material slightly before applying it. This can help in conforming the wrap to the contours of the vehicle and reduce the chances of creating air bubbles. Begin by applying the wrap from one section, using a squeegee to smooth out the material and push out any trapped air. If bubbles form, puncture them with a pin and push the air out to maintain a smooth surface.
Overlap the edges of the wrap slightly while applying to ensure full coverage. Ensure proper alignment by measuring and adjusting before committing to final adhesion. After the wrap is in place, carefully trim any excess vinyl using a sharp knife, making sure to avoid cutting into the paint below.
For maintenance, wash the wrapped vehicle gently using a soft cloth or sponge. Avoid automatic car washes with brushes, as they can damage the vinyl. Instead, opt for hand washing, and use a mild soap to prevent dulling the wrap’s finish. Make sure to avoid harsh chemicals and solvents that can degrade the vinyl material.
Regularly inspect the wrap for signs of wear, such as peeling or lifting edges. If you notice any damage, it’s important to address it immediately, either by re-sealing edges with vinyl adhesive or, if necessary, replacing sections entirely. Additionally, park your vehicle in shaded areas or use a car cover during prolonged exposure to the sun to extend the wrap’s lifespan.
Lastly, consider applying a protective sealant specifically designed for vinyl wraps. This adds a layer of protection against UV rays and environmental contaminants, helping to maintain the vibrant colors and the overall appearance of your vehicle. Following these techniques will ensure that your car wrap remains in excellent condition for years to come.


